Scindapsus pictus propagation is not difficult, but there are a few things you need to know about propagating this somewhat slow-growing houseplant.
Scindapsus pictus propagation guide
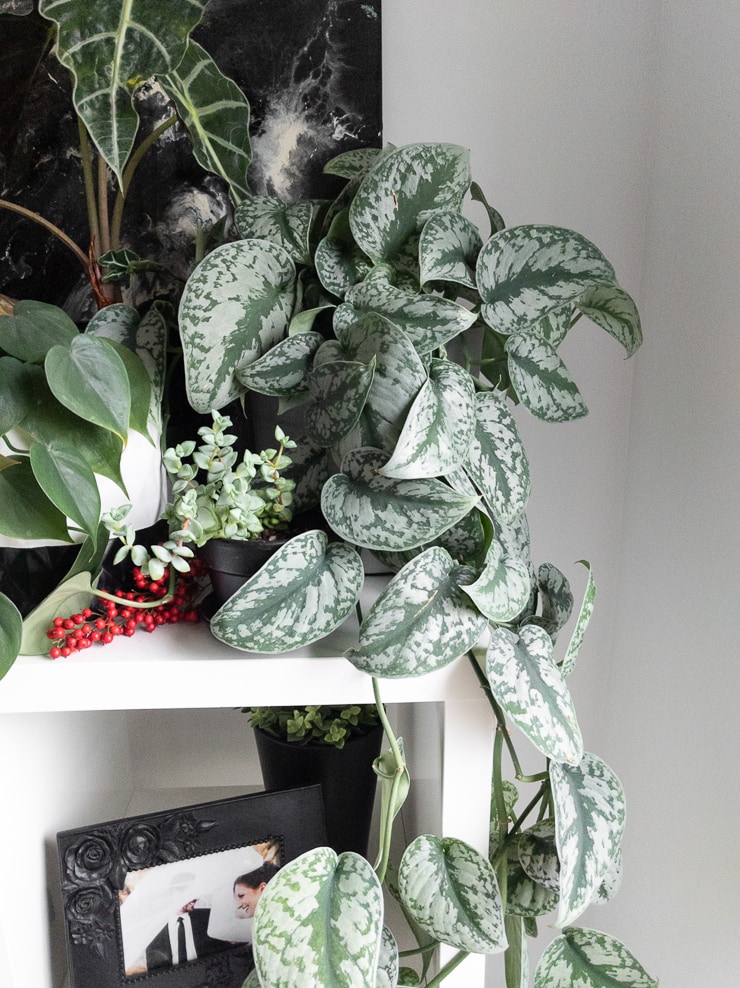
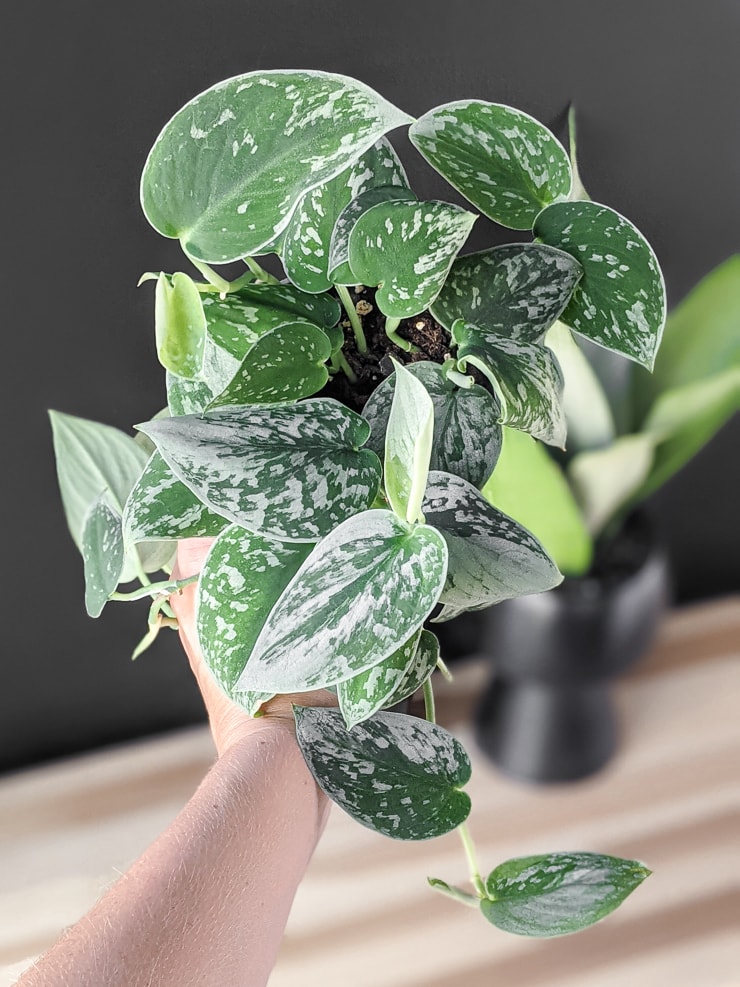
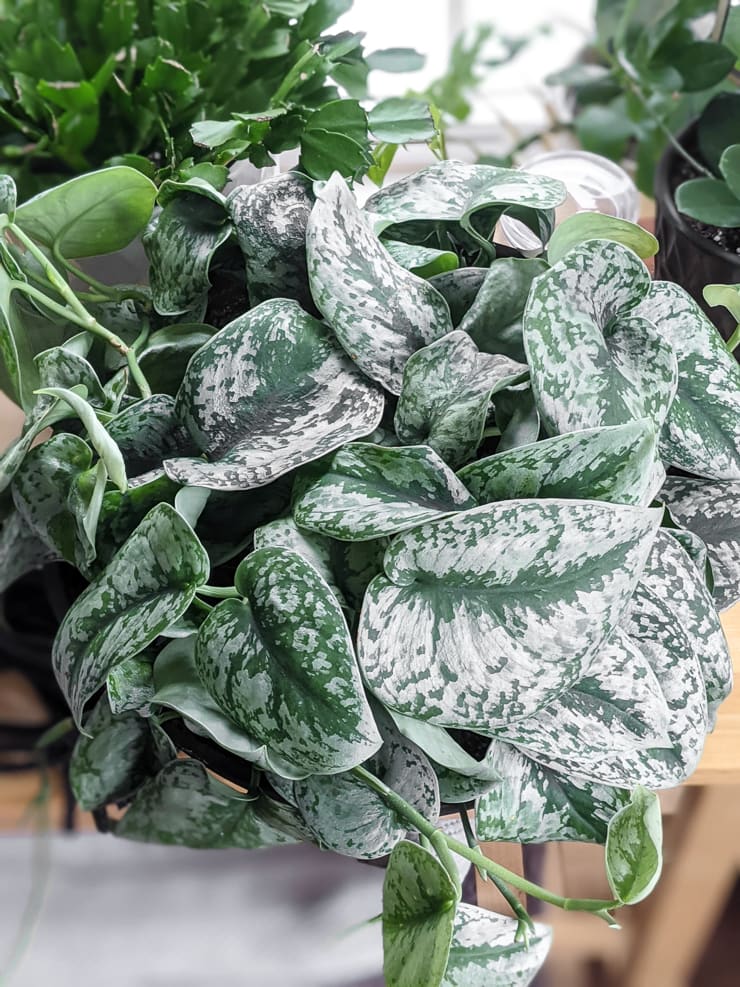
Scindapsus plants are some of my favorites. Scindapsus is the genus, and a common species of scindapsus plants is the “pictus” species. Within the species scindapsus pictus there are a number of beautiful varieties: pictus exotica, pictus argyraeus, pictus silvery Anne and more.
But while scindapsus pictus plants are beautiful, they are somewhat slow growing. Scindapsus pictus grows wild in Bangladesh, Thailand, Malaysia and the Philippines. Check out my complete scindapsus pictus care guide for more.
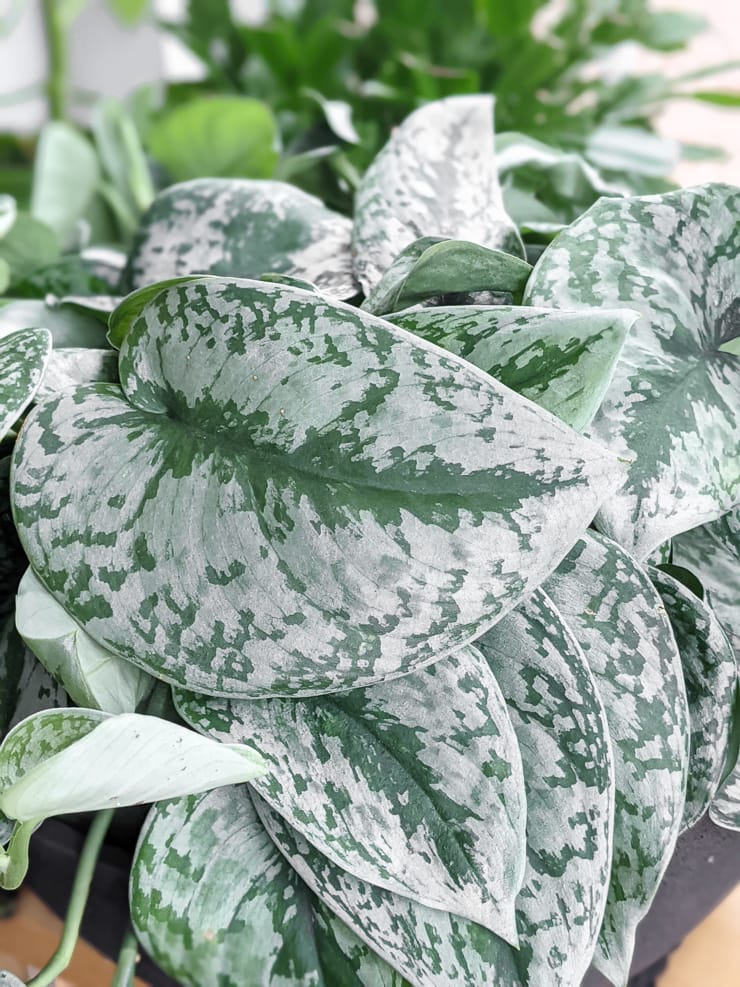
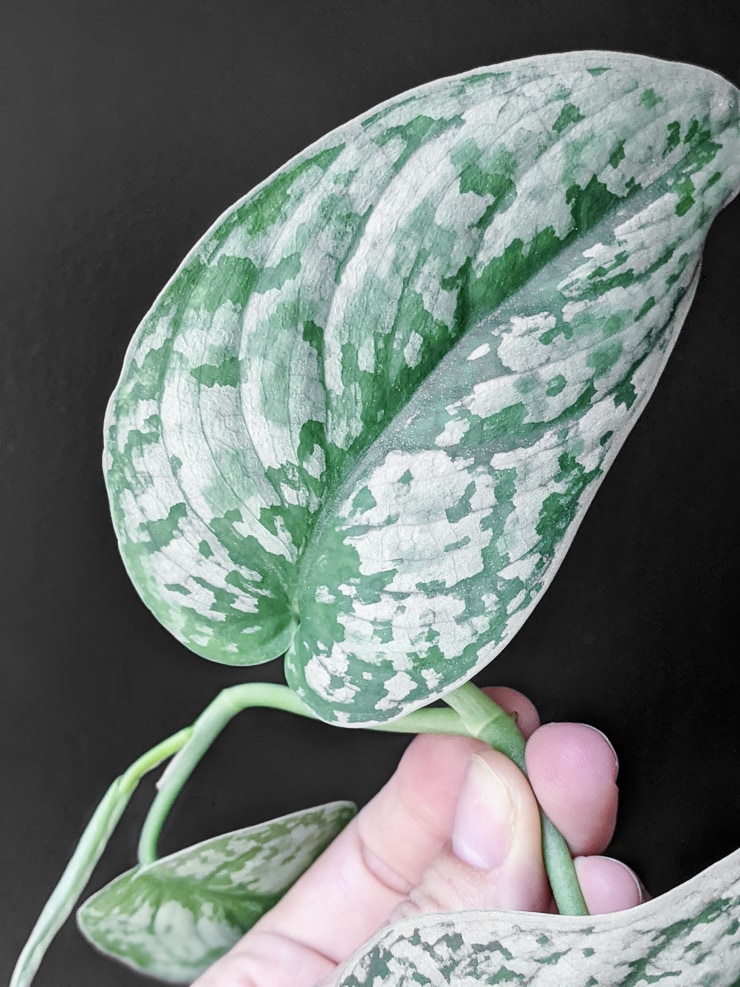
“Pictus” actually means “painted” – the green leaves have various silvery patterns on them that resemble painting. The leaves themselves are thick, as are the stems. And the plant is often confused with a pothos plant (probably because pictus plants are often called “silver satin pothos).
More about this plant
But it is not a pothos plant. The scientific name for pothos plants is epipremnum (genus) aureum (species), while the genus and species of this plant are scindapsus and pictus. But epipremnum and scindapsus are both in the family Araceae, so they are related.
They also have somewhat similar care needs, although scindapsus pictus is somewhat more demanding. That’s not saying much though, given that pothos is pretty much one of the simplest plants out there.
Like the pothos plant, scindapsus pictus is propagated by stem cuttings – and it is generally a very simple process. I will go over all the methods I have used to propagate scindapsus pictus plants, including which one I think is best.
How to take a scindapsus cutting
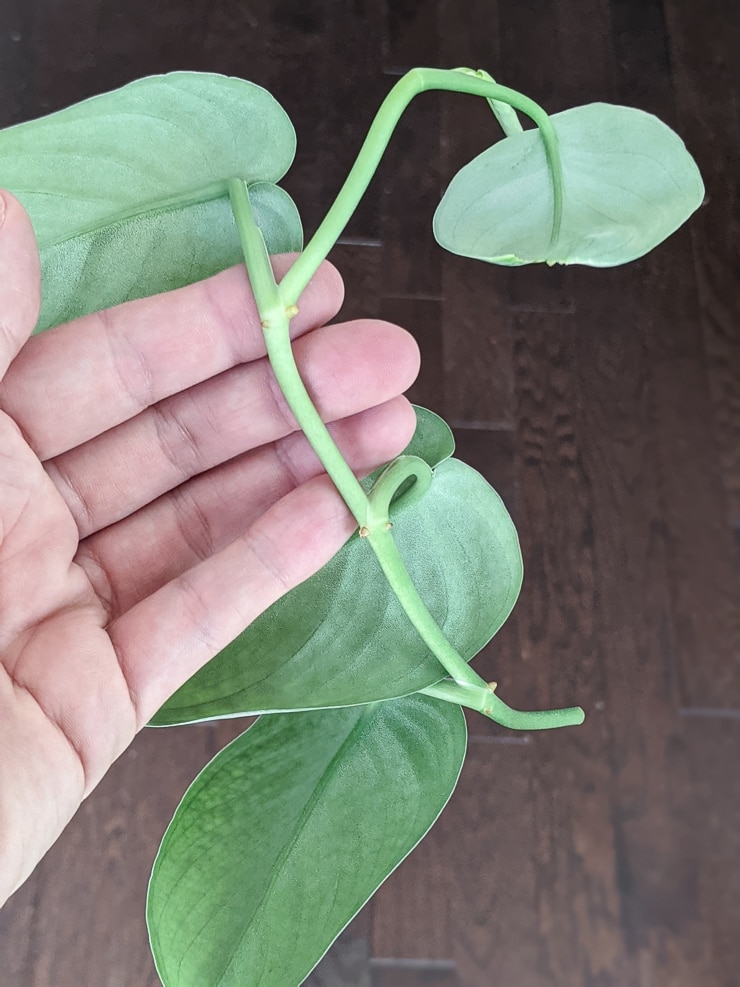
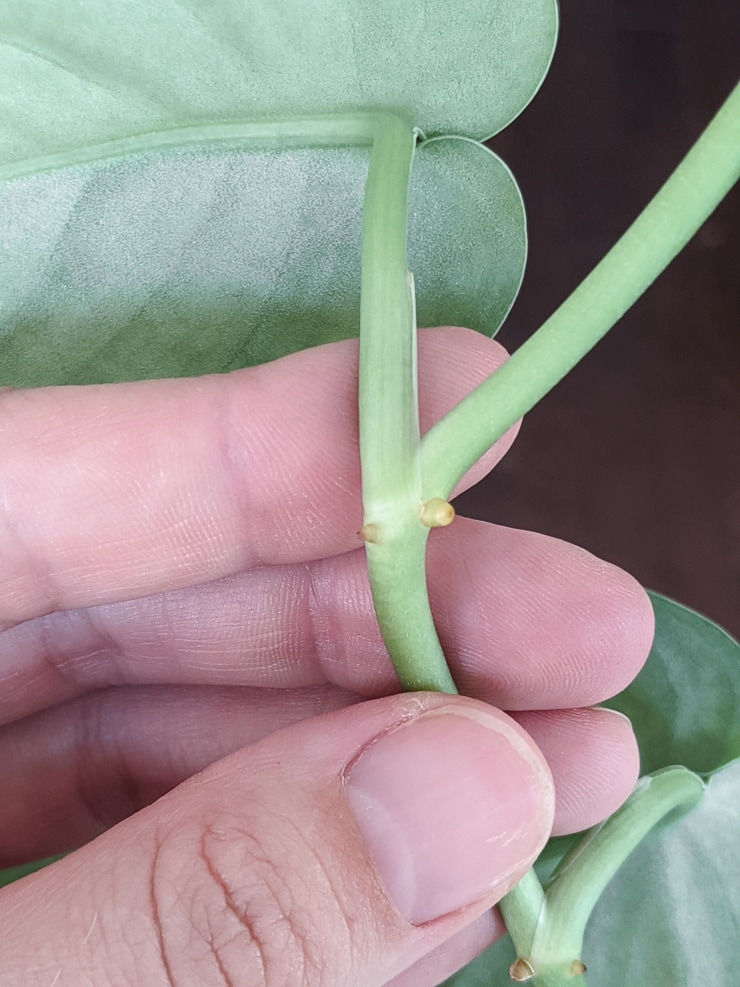
Whatever propagation method you choose, make sure you take a good cutting to get started. The best cutting will have 1 to 3 leaves and at least one node on the stem.
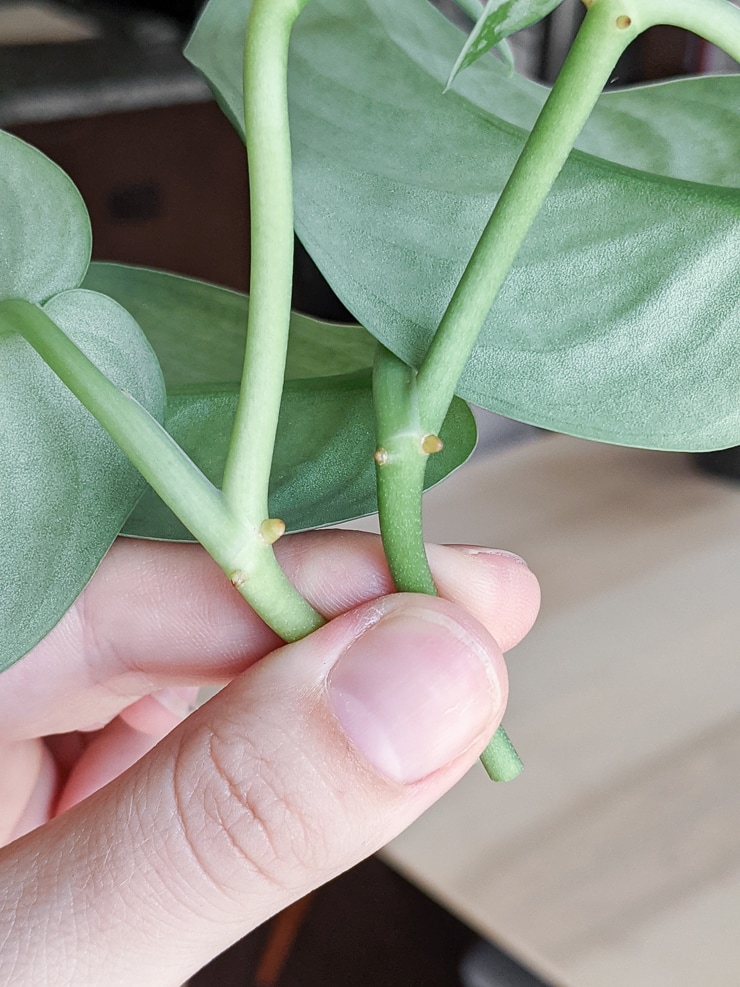
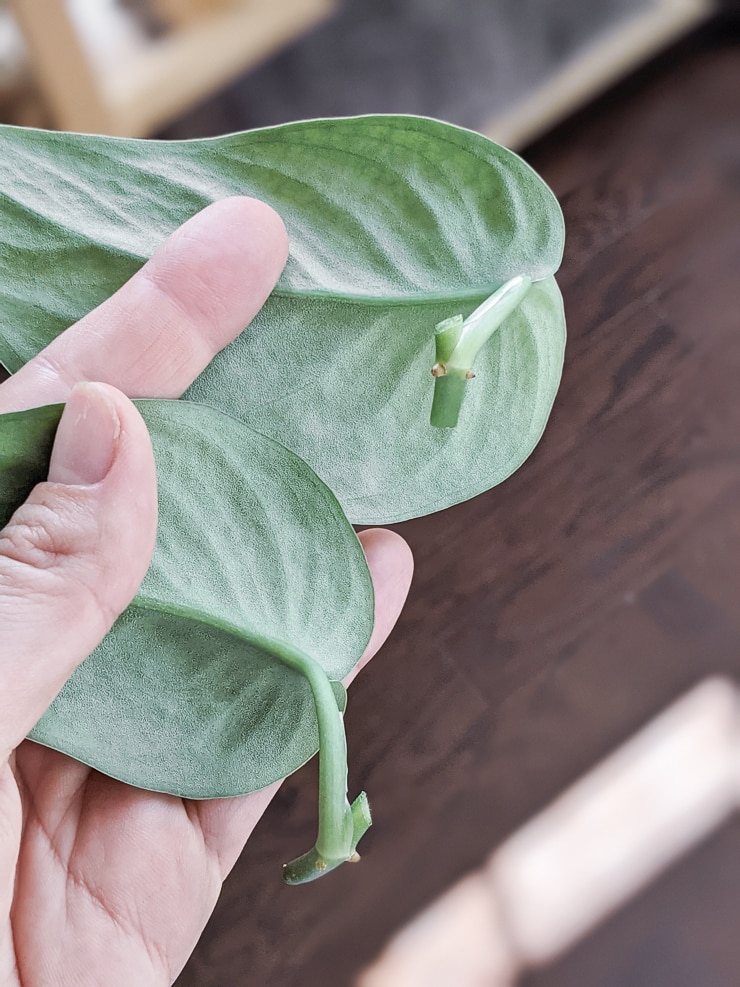
A node is usually found where the leaf meets the stem, so you can remove the lower set of leaves and submerge that part in water. Or you can take a cutting that has one of those nifty little nubs on it. It will get you on the fast track to the roots!
Scindapsus pictus propagation method #1: Water rooting
Now that you have a great cut, let’s talk methods. Scindapsus pictus propagation can be achieved by rooting stem cuttings in water. To do this, take some cuttings off and put them in a glass jar with water.
Change the water every week or so to ensure it is fresh, and make sure the water levels don’t get too low. You don’t want the water to sink below the node areas.
A word of caution when rooting scindapsus pictus with water: the water roots don’t adapt super well once you transplant the cutting into soil. Even if you let the water roots get nice and long, there will still be some shock.
That’s because water roots are different from soil roots. (Ever wonder why plant cuttings can live in water but will die if you overwater them in soil? Here’s the thing!)
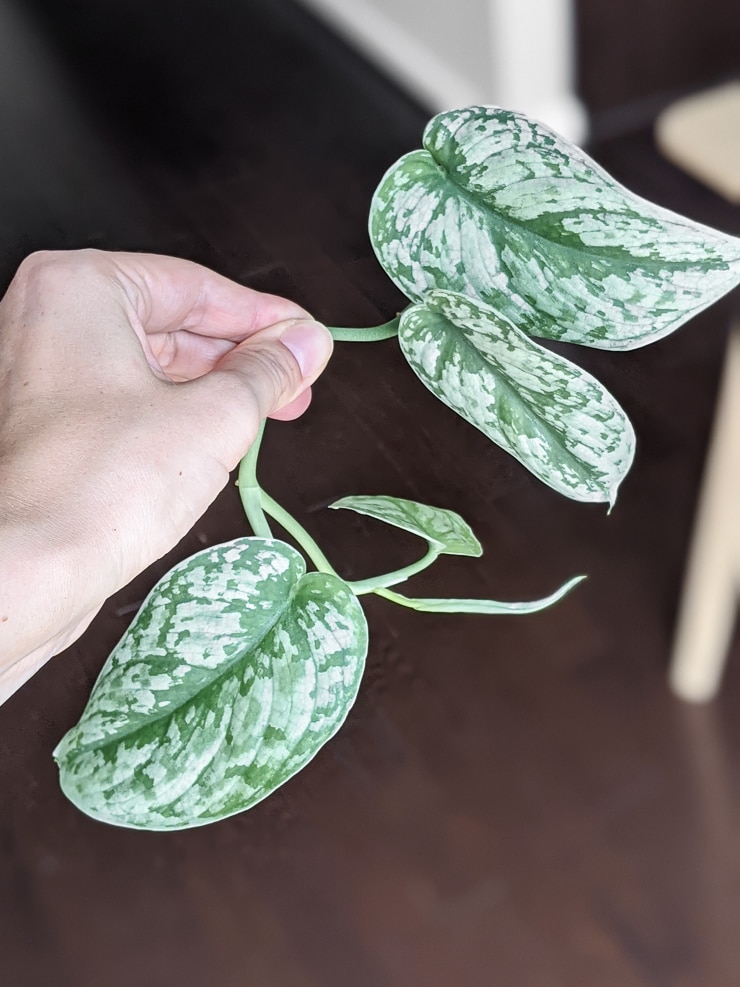
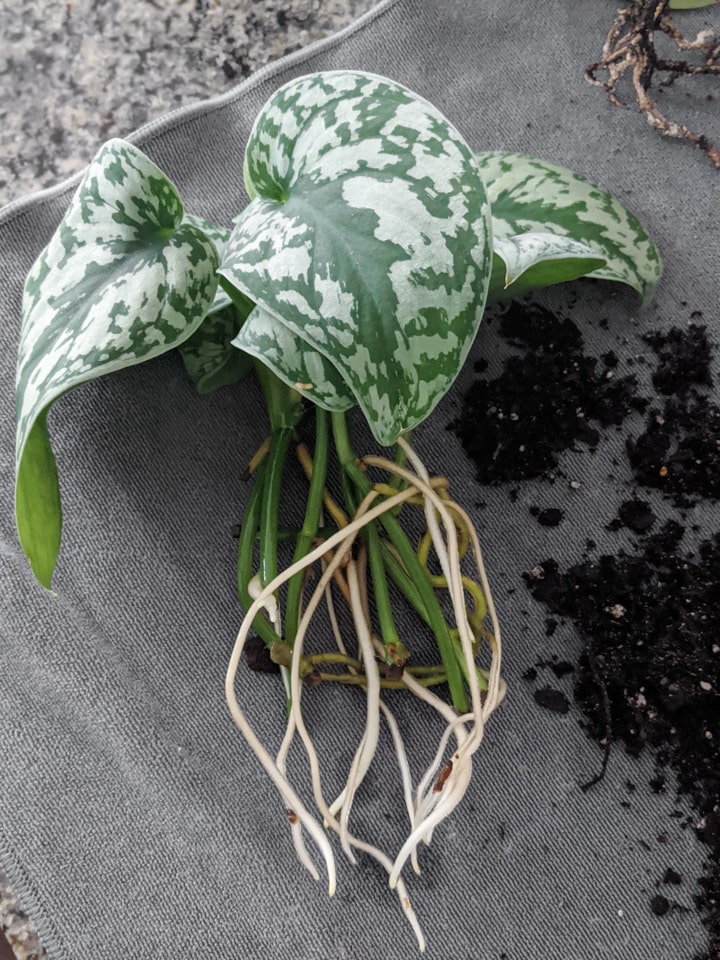
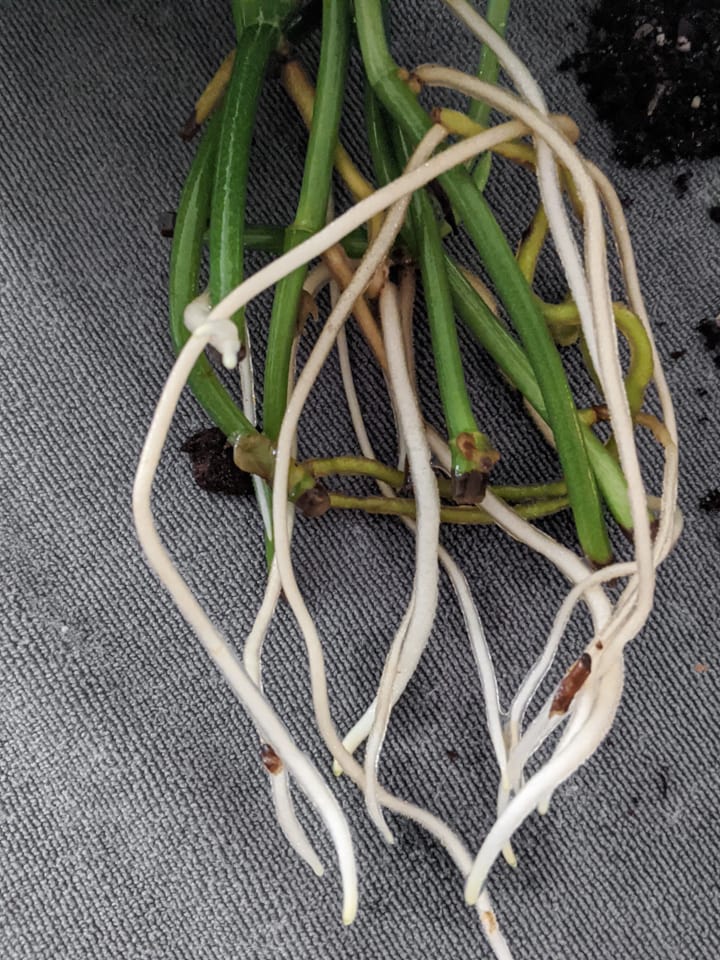
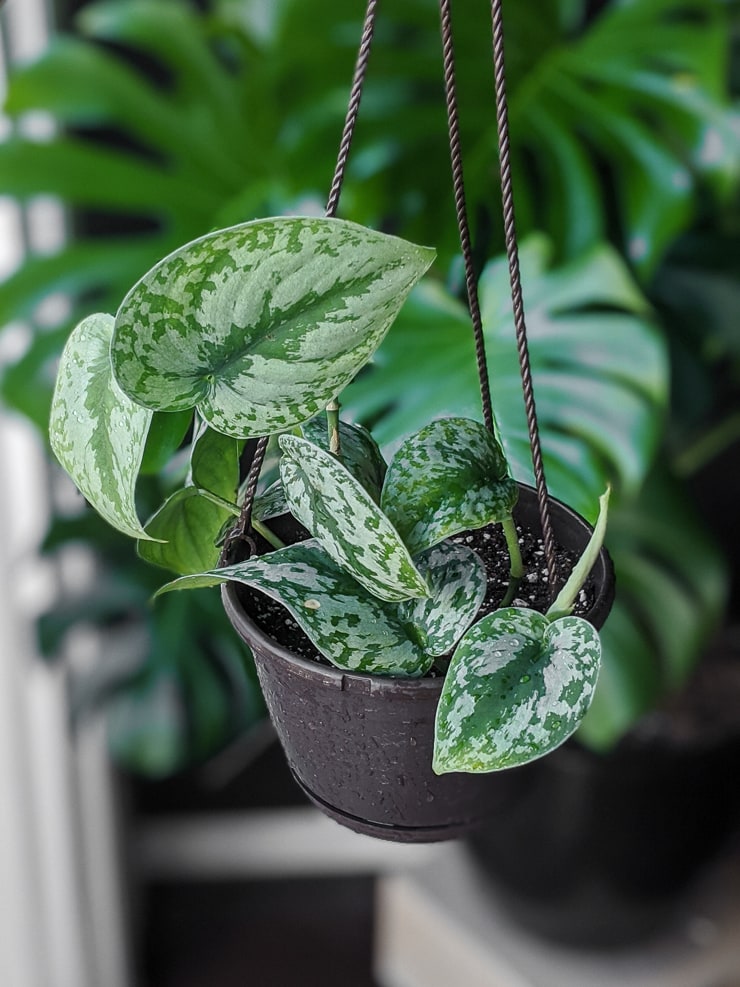
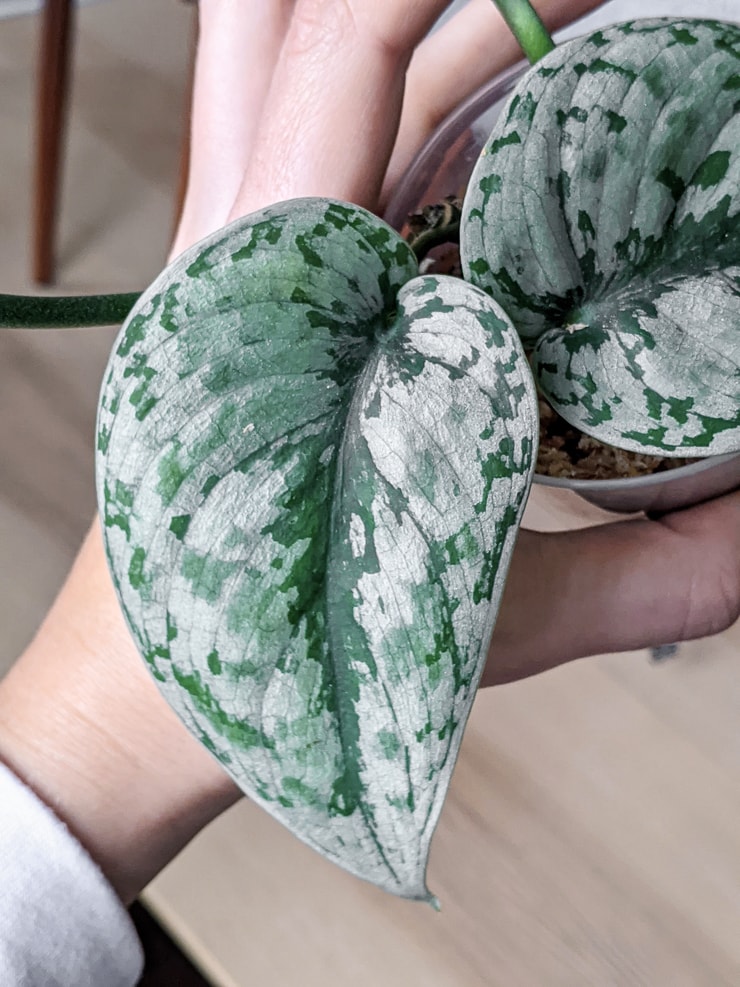
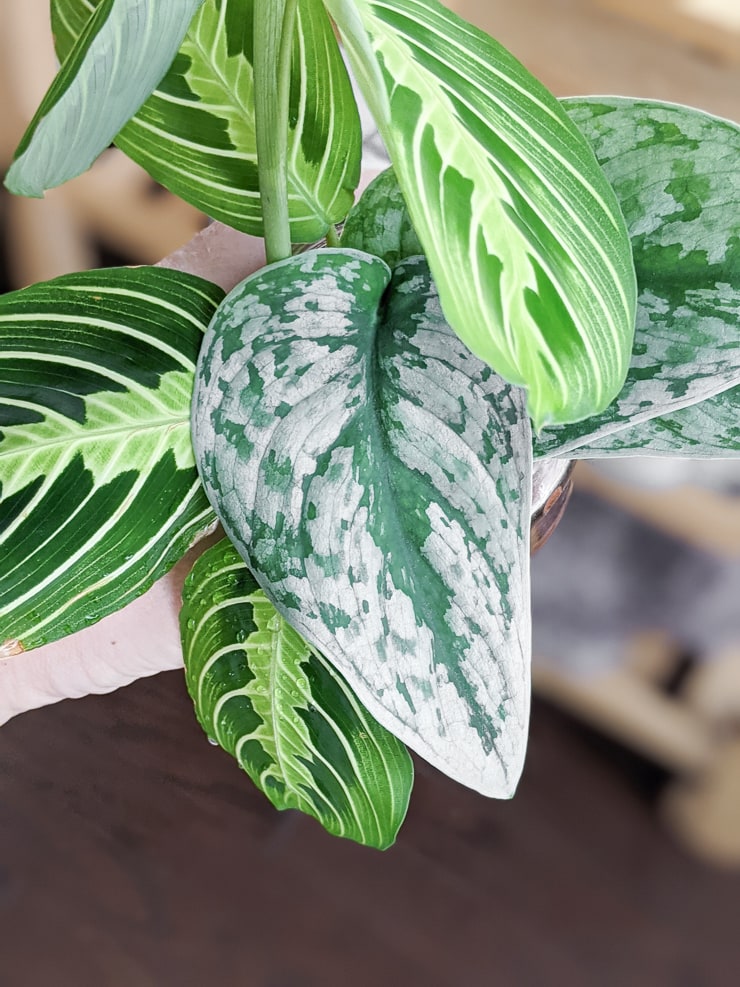
The first two pictures below are an example of some exotic cuttings that I had rooted in water for several months. It took quite a bit of white just to get roots this long! The third photo below is the cuttings after they have been in the soil for a few weeks.
The cuttings wilted and curled for a while after I planted them. But they recovered nicely, perked up and started putting out new growth.
Scindapsus pictus propagation method #2: Root in sphagnum moss
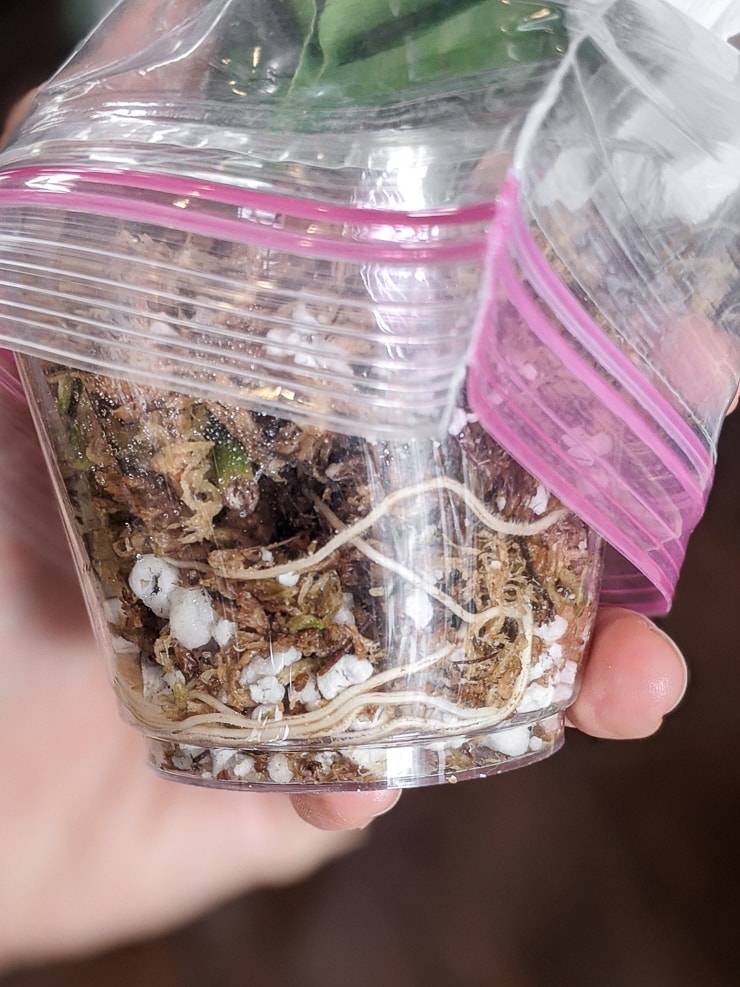
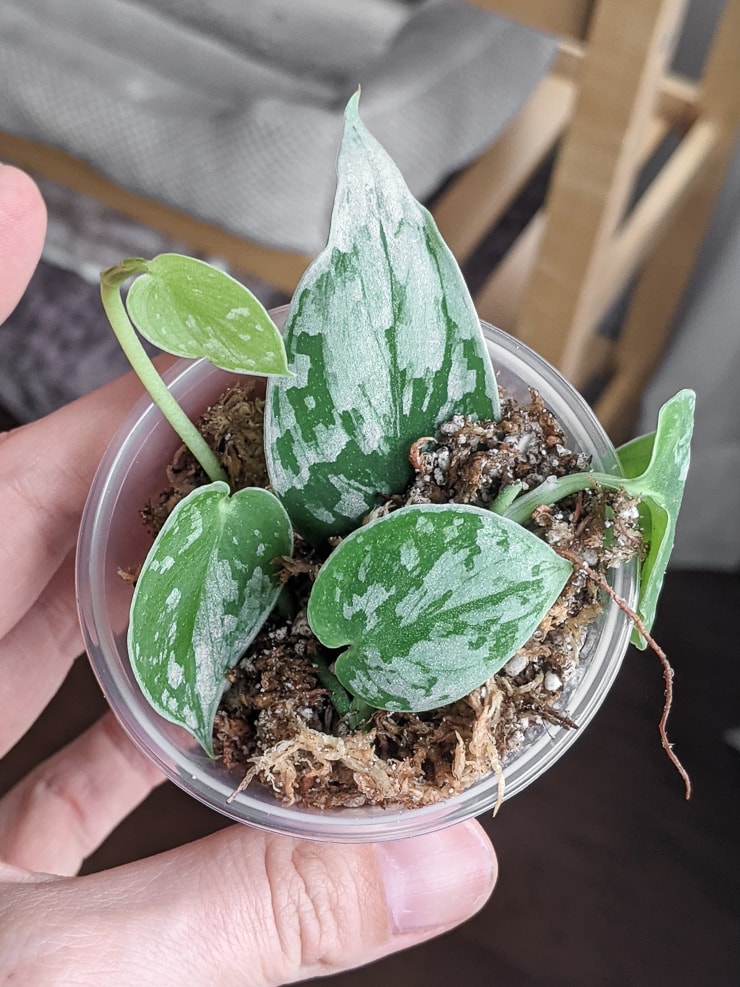
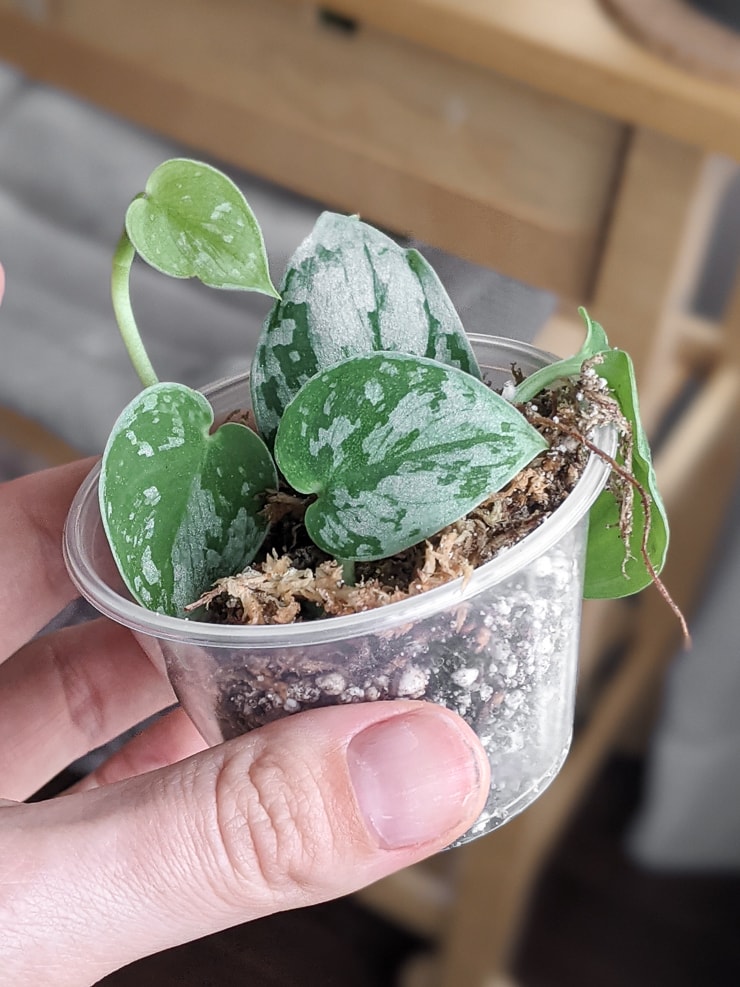
Moss is my favorite way to root scindapsus pictus cuttings. I like to use moss because the cuttings recover faster after they are transplanted into the soil. The roots that grow in moss are a bit stronger than water roots, I think.
Usually I soak spagnum moss and then squeeze out any excess water. I mix in some chunky perlite to aid air flow and drainage, then put the mix and the cutting in a plastic cup. See my full post on how to root plants in moss for more.
Sometimes I will dip the cutting in rooting hormone powder first, but only if I have it on hand. Also, sometimes I’ll mix in some worm castings as well for nutrients since moss and perlite don’t provide any.
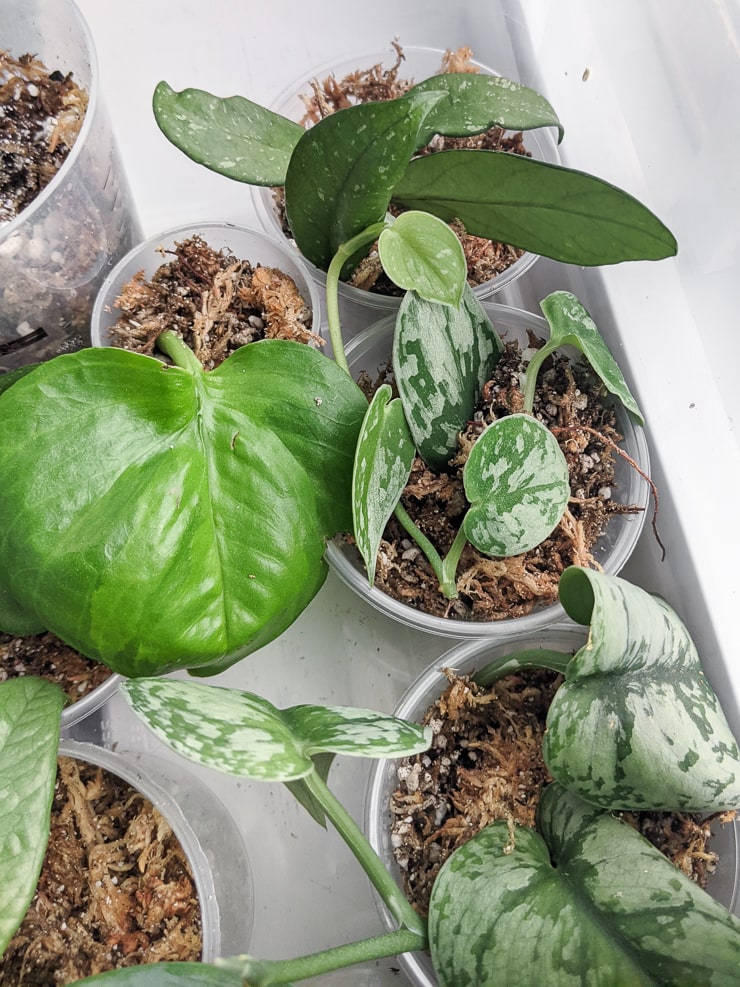
At this point you want to make sure the moss stays moist and the environment stays moist. A do-it-yourself plastic plant propagation box is the perfect solution for this. Just place the cutting in a clear plastic storage box and keep the lid on.
You can air it out when you remove the cover every week or so to check moisture levels or root growth. If you don’t want to use a prop box, you can just put a clear plastic bag over the knitting and the cup to keep the humidity high.
Scindapsus pictus propagation method #3: LECA
I don’t have much experience propagating scindapsus pictus plants in LECA, but I have propagated quite a few similar plants in LECA. Including scindapsus treubii moonlight.
Overall, my experience propagating plants in LECA has been a resounding success. I am very happy with the root growth of every cutting I have tried in LECA! When I had a whale worm plant that just wouldn’t root in water, I tried LECA. A week later? Roots!
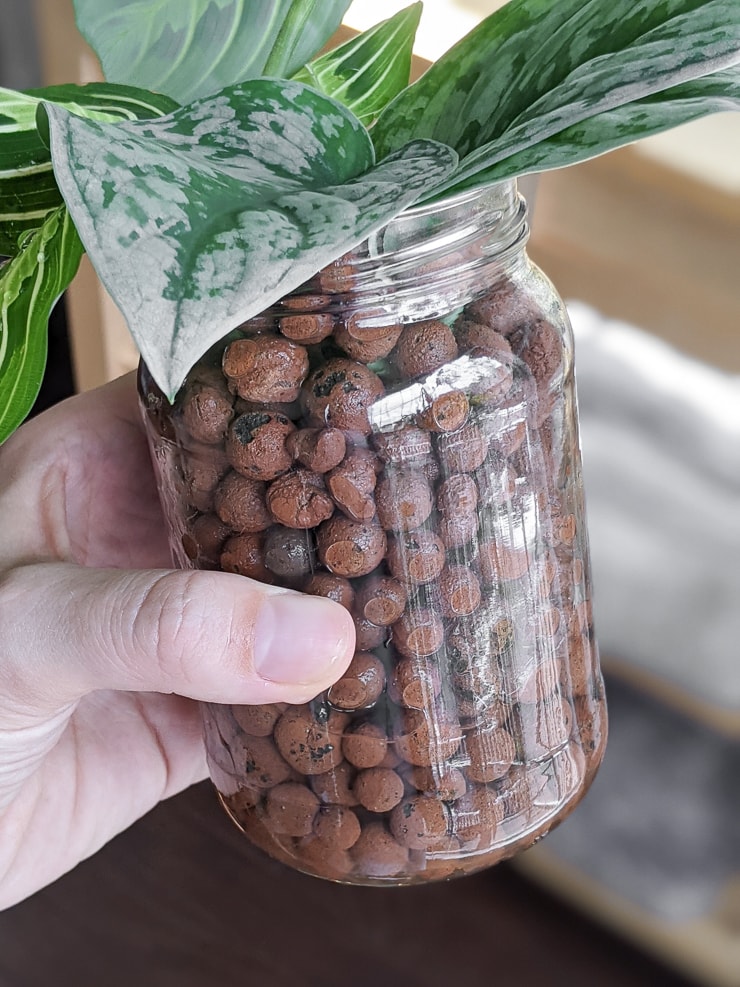
LECA is what people call small clay balls that are used as a plant growing medium. Then help hold the plant cuttings in place and facilitate oxygen flow to the roots. You put LECA in a jar, add the cutting and then fill the rest with LECA. (See my detailed post on rooting plants in LECA for more.)
Do you see all the air gaps? It facilitates the flow of oxygen. Add water up to just below the bottom of the cutting. The idea is that the cutting should not be in water – it should be right above it.
In this way, the upper LECA stones remain moist thanks to the moisture created from the lower water reservoir and pebbles. This environment is fantastic for strong root development. And it allows the plant to grow roots without exposure to light, which means less shock when you plant the cuttings in soil.
I will update this post with more details when I get my scindapsus pictus exotica cuttings to root in LECA! They’ve been in LECA for a few days as of writing this post, and I haven’t seen any progress yet.

For more scindapsus propagation, check out my post on how to root a jade scindapsus cutting, as well as how to root a scindapsus treubii moonlight cutting!
Scindapsus pictus propagation method #4: Planting directly in soil
The last scindapsus pictus propagation method I want to discuss is planting cuttings directly into the soil. To do this, use a well-draining soil. Plant the cutting making sure the nodes are buried.
Keep the soil mixture moist and the humidity high. The cutting may wither a little until it roots. This is a perfectly fine method to use, but it’s always my least favorite. Why? Because watching roots develop is sooo rewarding, and I can’t see what happens if the nodes are buried in soil!
Whichever scindapsus pictus propagation method you choose, follow the tips in this post and you will likely be successful! It’s a wonderful plant, so why not grow some more?


